Are you facing issues with your website taking too long to load or facing a timeout error? This could be due to the max_execution_time setting in your PHP configuration. This setting sets the maximum time a script is allowed to run before it is terminated by the server. If you’re using Hostinger hPanel, you can easily increase this time limit to ensure that your website runs smoothly. If you’re using Hostinger as your web hosting solution, here’s how to increase max_execution_time in Hostinger hPanel:
What is Max_execution_time?
Max_execution_time is a PHP setting that determines the maximum amount of time a script can run before it’s terminated. This is a safety measure to prevent a script from running indefinitely and potentially slowing down your server. However, sometimes you may need to increase the max_execution_time if your script requires more time to run.
1. Login to your Hosting account
2. Click Hosting

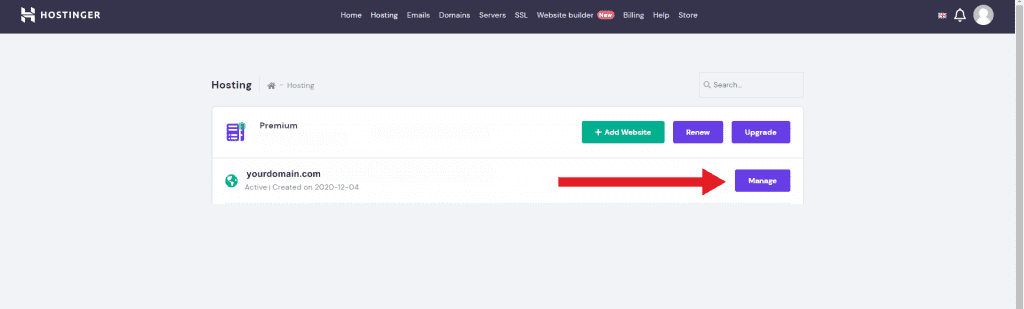
3. Choose Domain Name > Manage
4. Go to "Advanced" (through bottom)
5. Click PHP Configuration

5. Click PHP Options (search for "maxExecutionTime")

6. Save
It’s that simple! By increasing the max_execution_time setting, you’ll be able to avoid timeout errors and ensure that your website loads quickly and efficiently. With Hostinger hPanel, making these changes is quick and easy, so you can get back to what you do best – creating content and engaging with your audience.