What is CDN?
A content delivery network (CDN) is a system of servers that deliver content on behalf of a website. The goal of a CDN is to serve content to visitors from the server closest to them, provide faster loading times, and reduce bandwidth costs.
If you are running your website or blog, you need to understand what CDNs are and how they can affect your site. And if you are managing multiple websites for your company, it’s even more vital to understand the different uses and benefits of CDNs.
Why do you need CDN?
The goal of a CDN is to serve content to visitors from the server closest to them, provide faster loading times, and reduce bandwidth costs.
Using Content Delivery Networks, your WordPress website will load faster for your users by sending fewer data.
BunnyCDN
In this article, we will walk through the steps for setting up BunnyCDN on your WordPress site.
BunnyCDN is a fast and reliable CDN service that delivers content to end users. It provides a better user experience by reducing loading times.
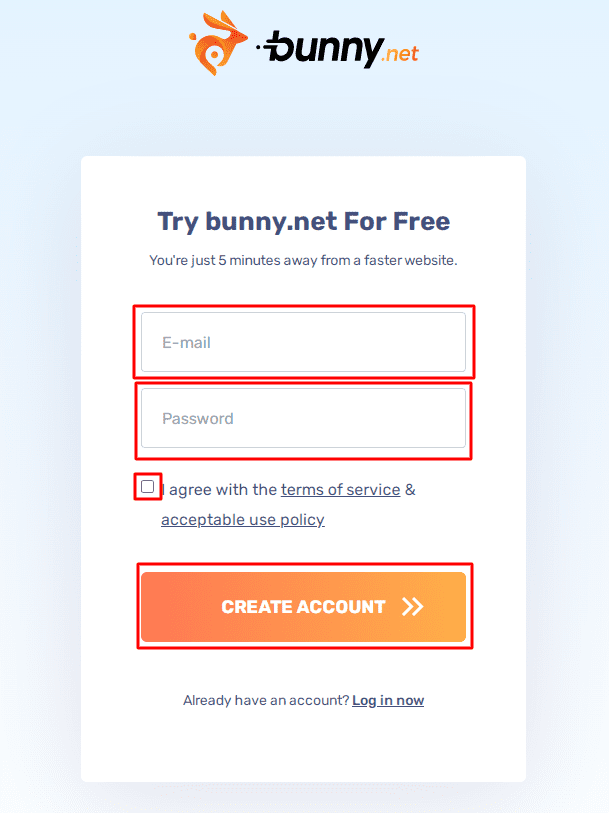
1 - Create Your Free BunnyCDN Account
2 - Add a Pull Zone for Your Website
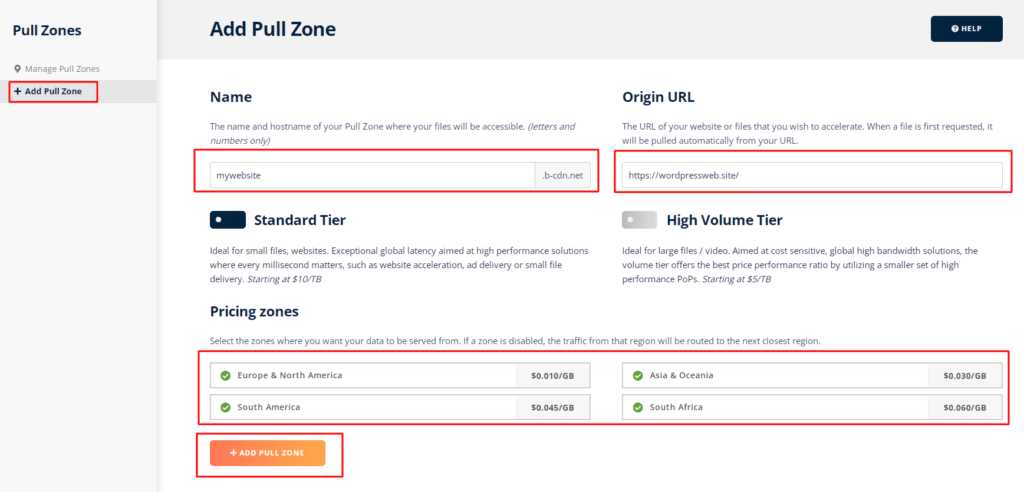
The idea of a Pull Zone is to have the CDN pull content from your origin servers to speed up delivery.
If you are on a shared hosting account, you will not be able to set up a Pull Zone. This is because shared hosting accounts do not allow you to upload files outside your public_html folder.
3 - Install and Activate BunnyCDN Plugin
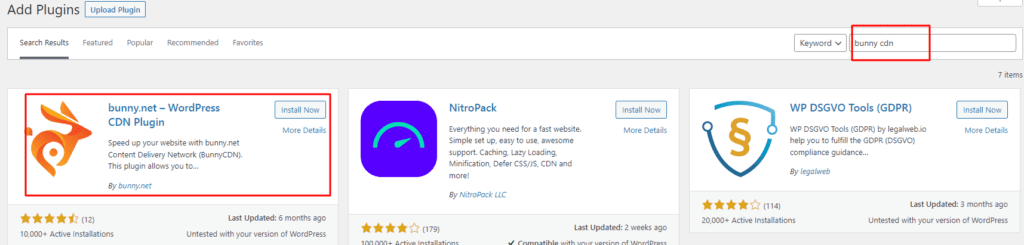
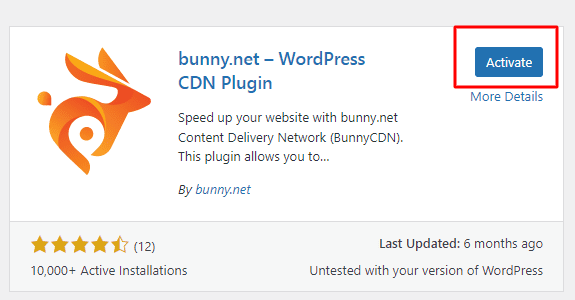
BunnyCDN is a free WordPress plugin that improves the performance of your website. It caches and delivers some of your site’s files from its servers worldwide, which can decrease load times and increase site availability.
You can easily install BunnyCDN through WordPress’ plugins screen:
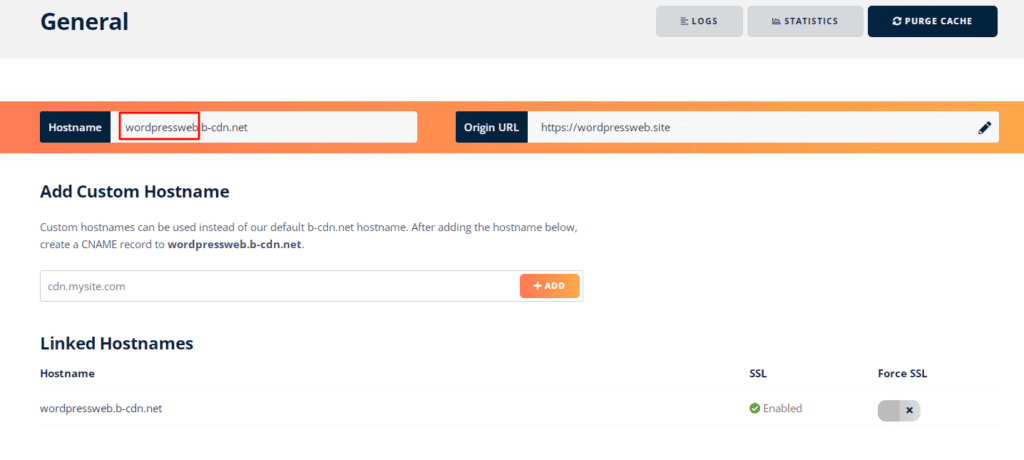
4 - Add Hostname on panel.bunny.net
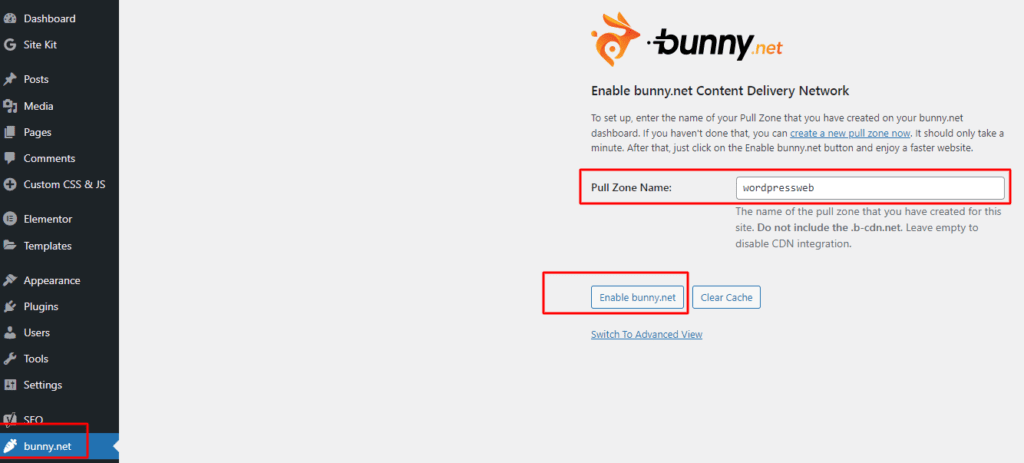
5 - Update Pull Zone Name & Enable BunnyCDN on Your WordPress Dashboard